Saturday, April 10, 2021

Multitasking: Human vs Machine

Here on earth, humans are the only species (as far as we know) that has attempted to study its own brain. Much of our brain has remained a mystery for the majority of our existence, but relatively recently we've begun to understand some things that seem unintuitive. 

For decades we pushed ourselves to get more and more done, often resorting to multitasking, which seems on the surface like a great way to get more done - do more than one thing at a time!

Turns out, our brains don't work that way. By attempting to do more than one thing, our ability to do either of them diminishes, and ultimately both tasks take much longer and are not done as well. 

So, multitasking does not get things done faster. By and large, we've come to accept this shortcoming as a species (though there are still many who will try to defy what nature has shown us). 

There is something out there, though, that is great at multitasking. A machine, which by definition is a mechanical apparatus designed to accomplish a specific task, can do one task really well. Put two machines next to each other, and now we've got some magic. Take a look in your kitchen, with the fridge next to the stove, simultaneously keeping most food cold while making some food hot. 

Now, we as humans may not be able to do multiple things at once, but by strategically assigning machines to automate certain tasks, we can in fact accomplish many things. 

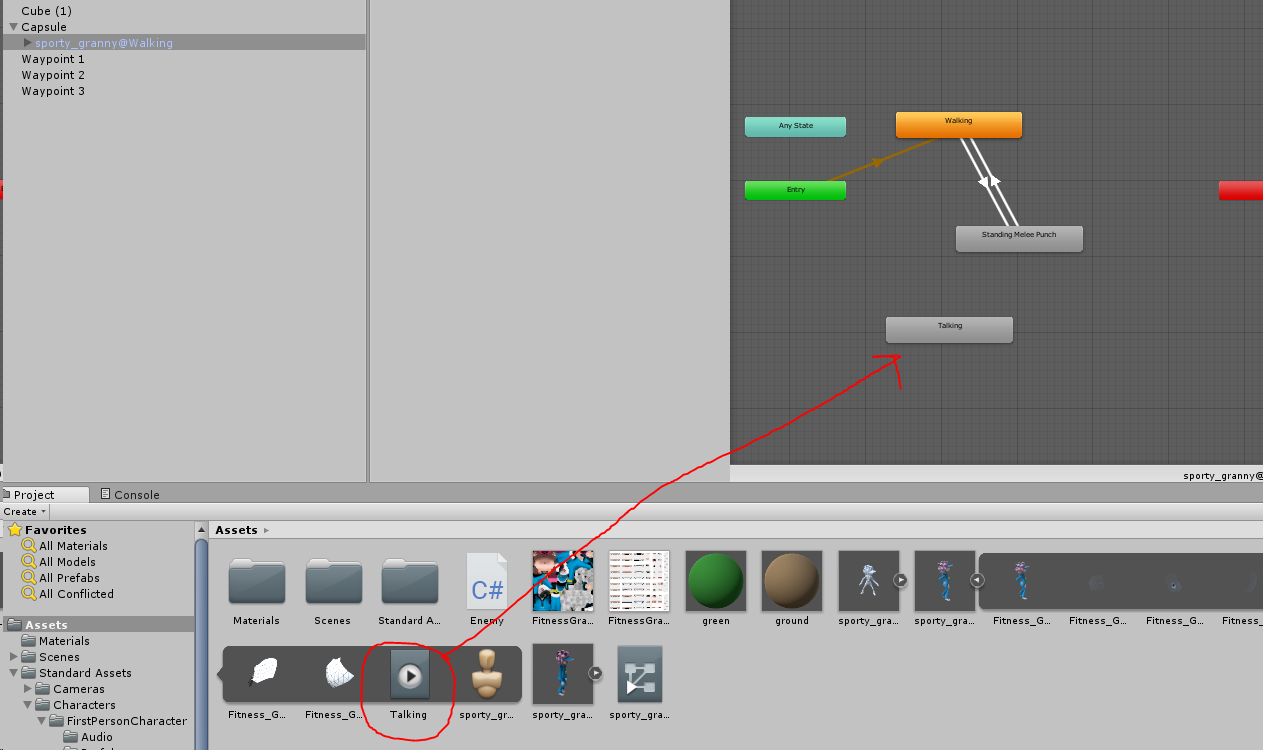
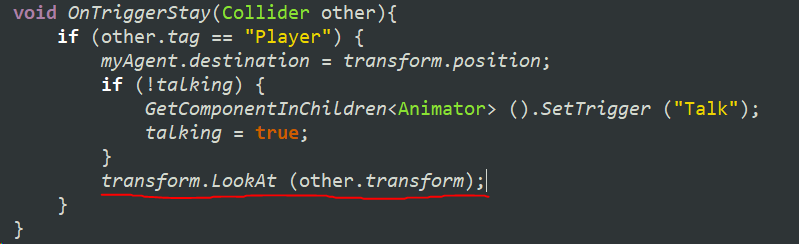
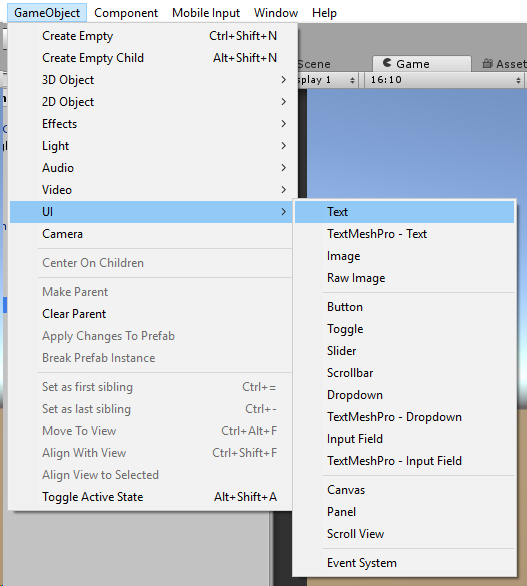
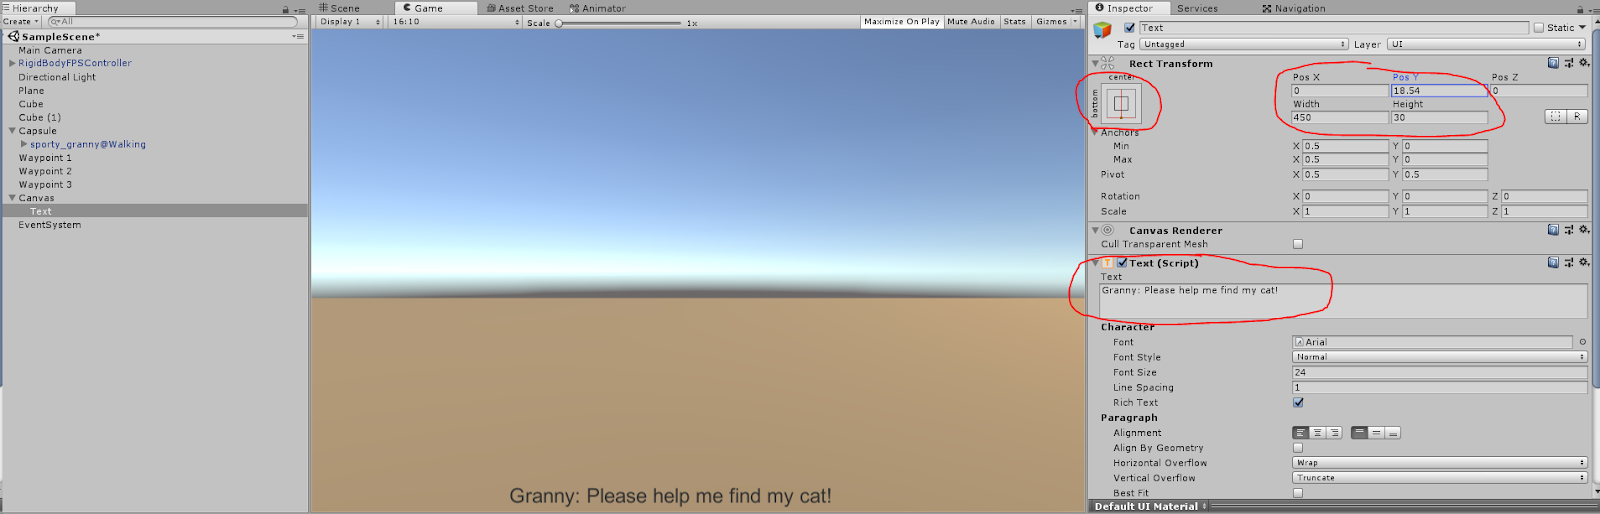
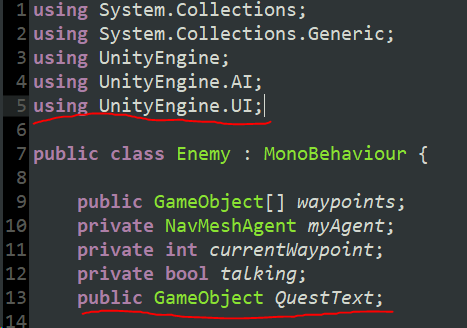
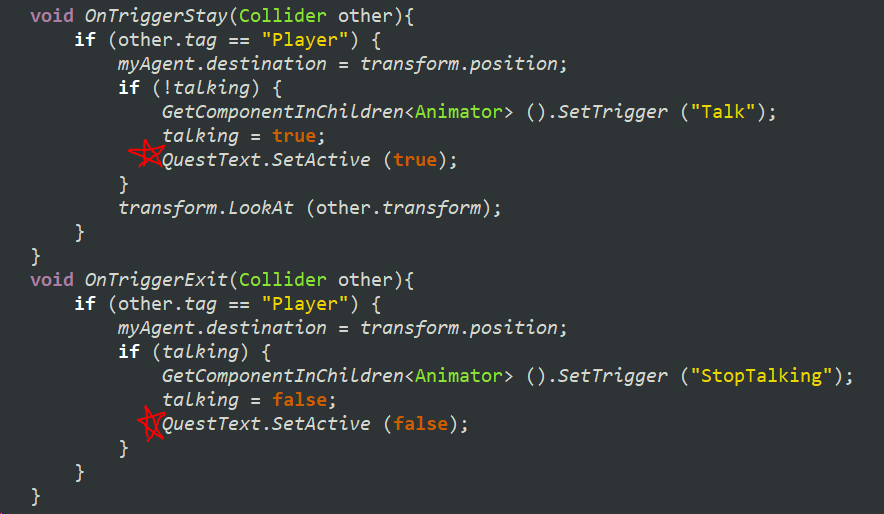
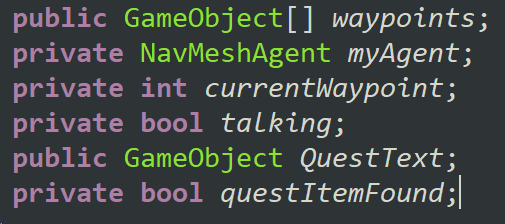
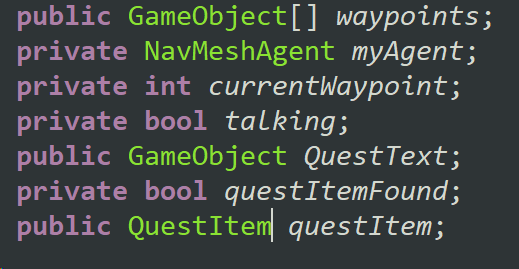
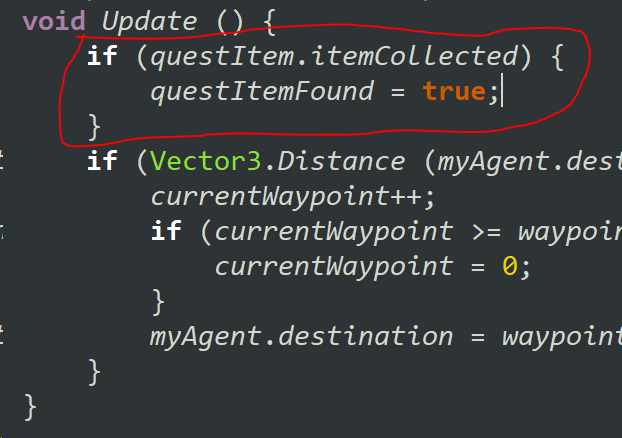
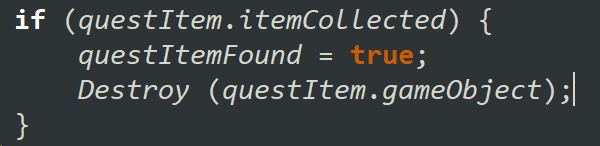
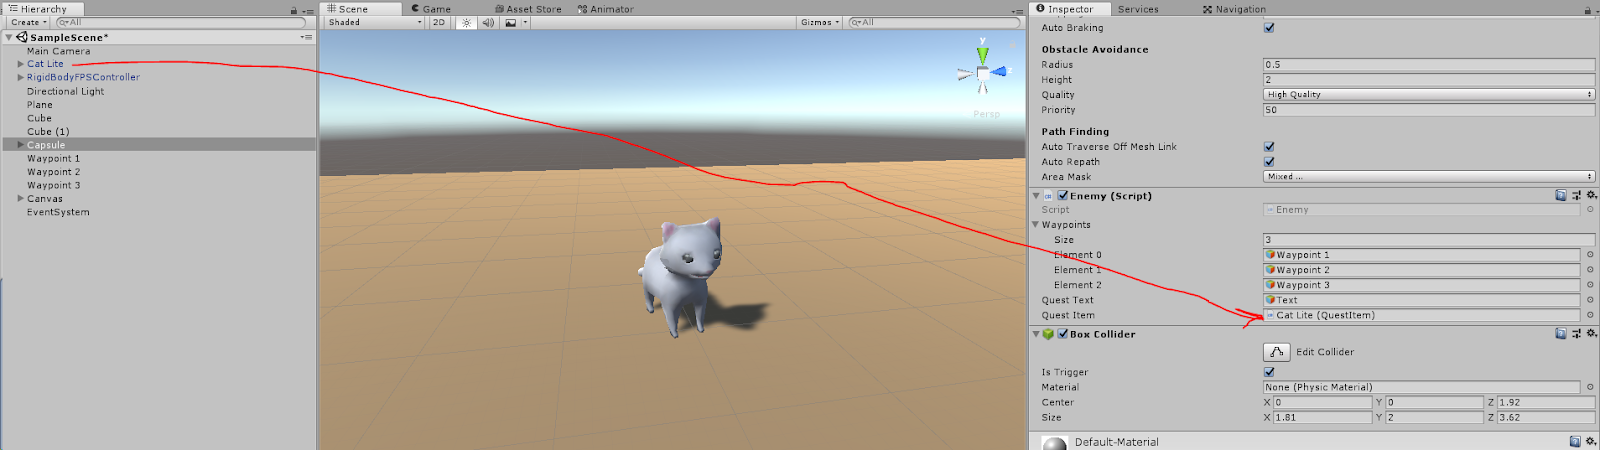
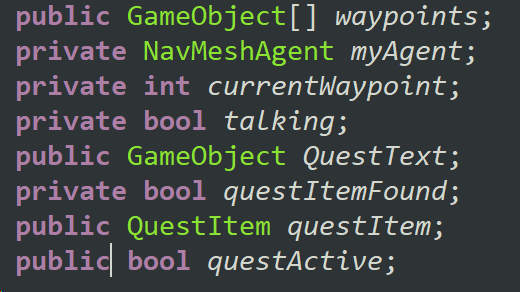
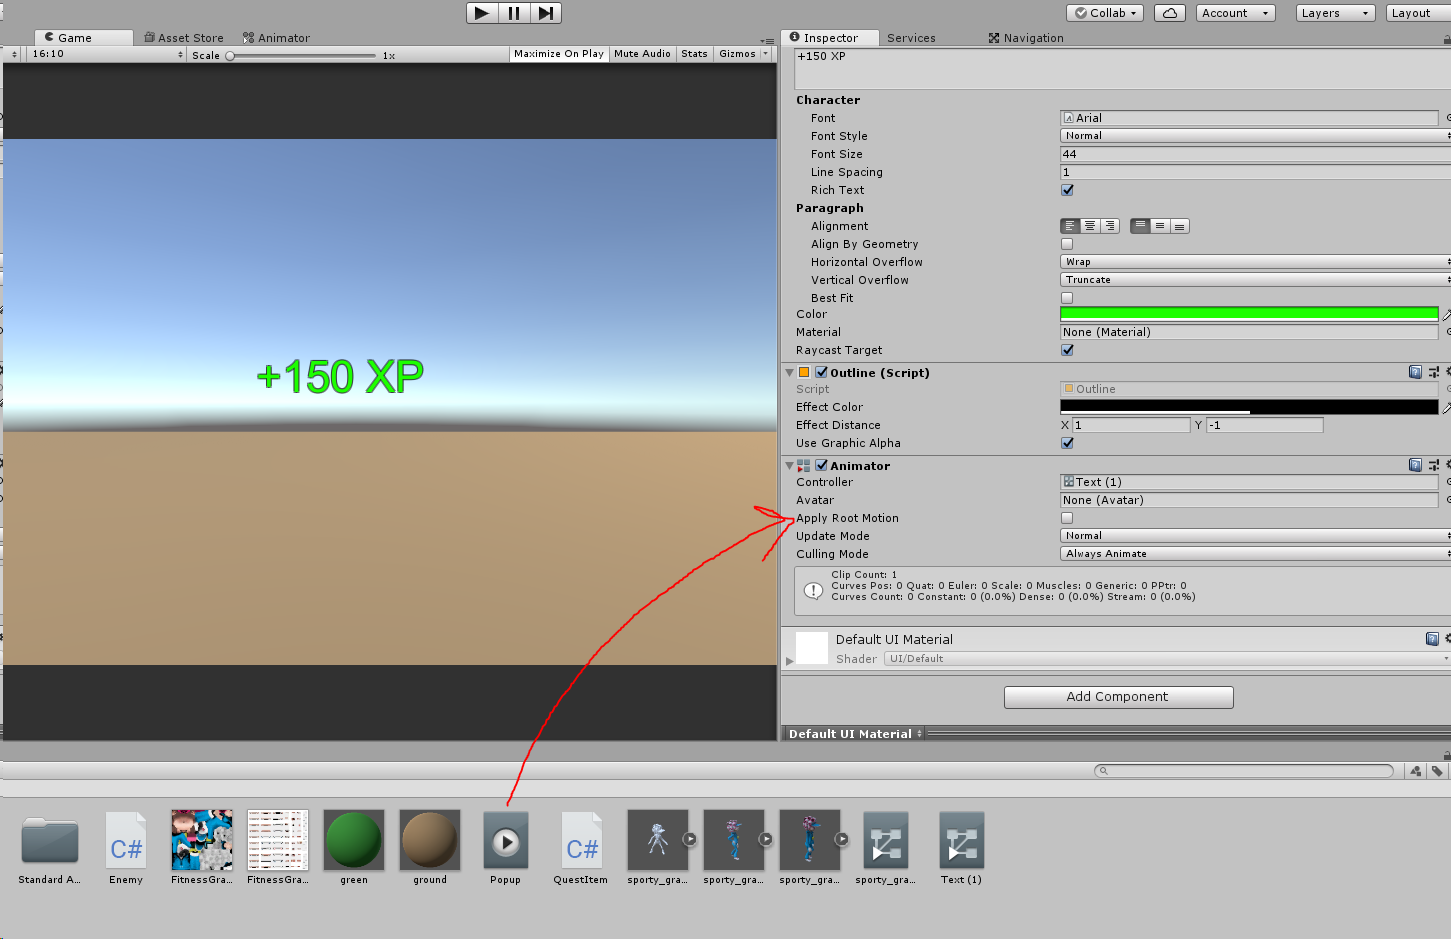
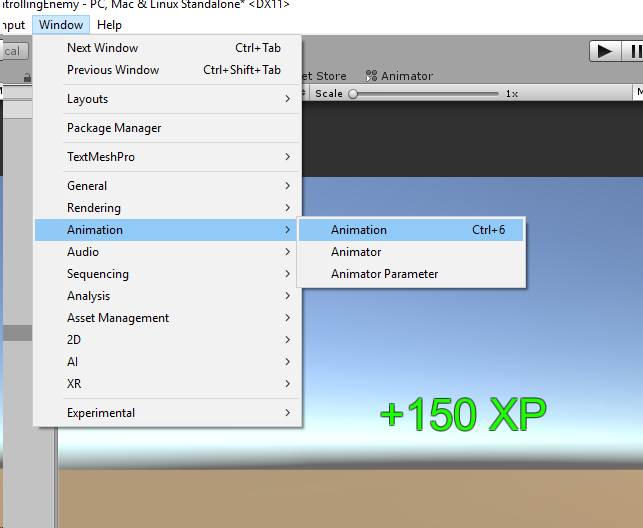
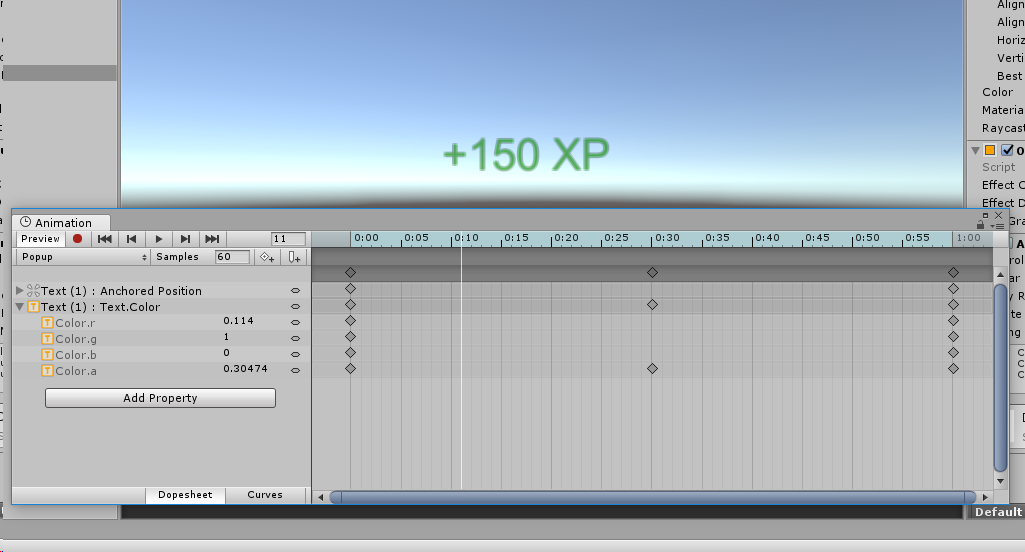
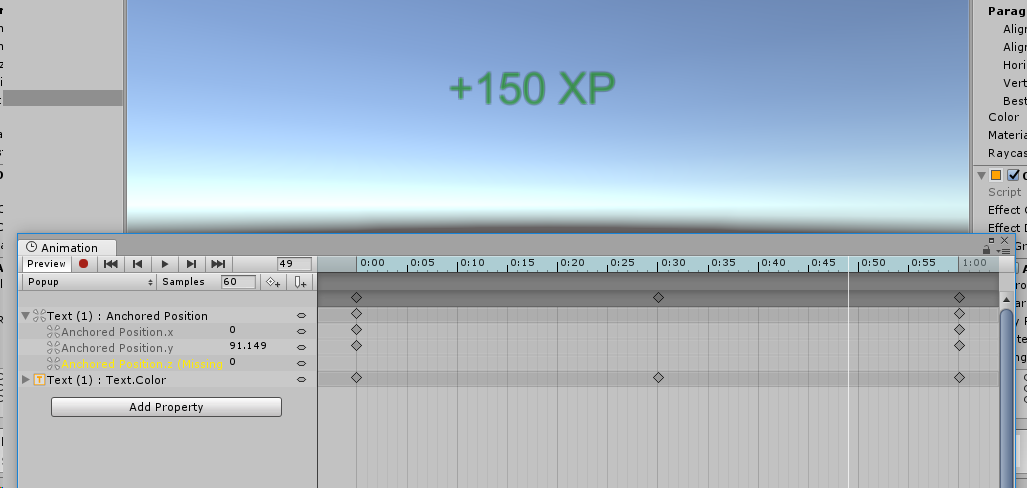
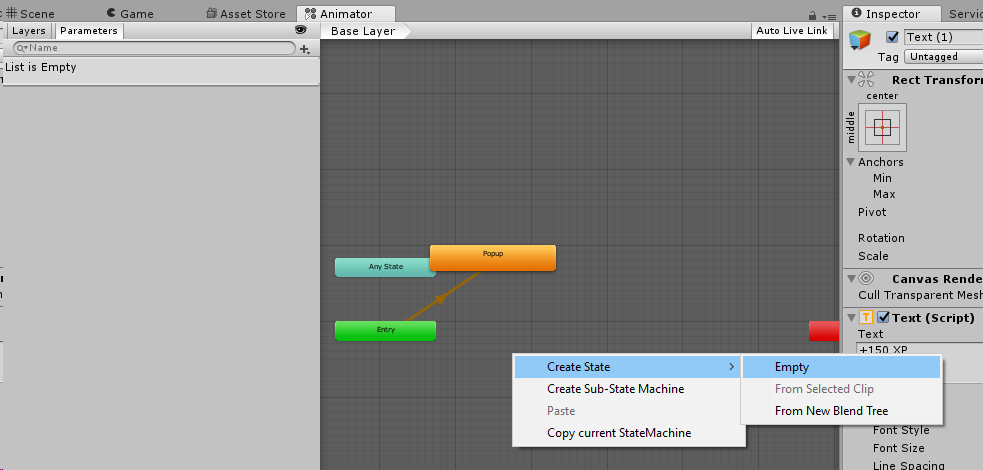
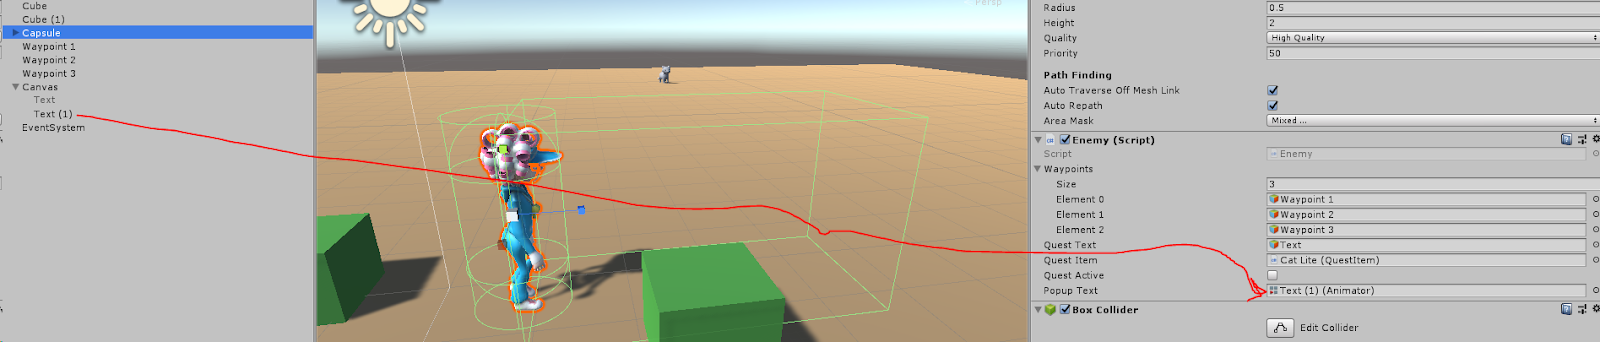
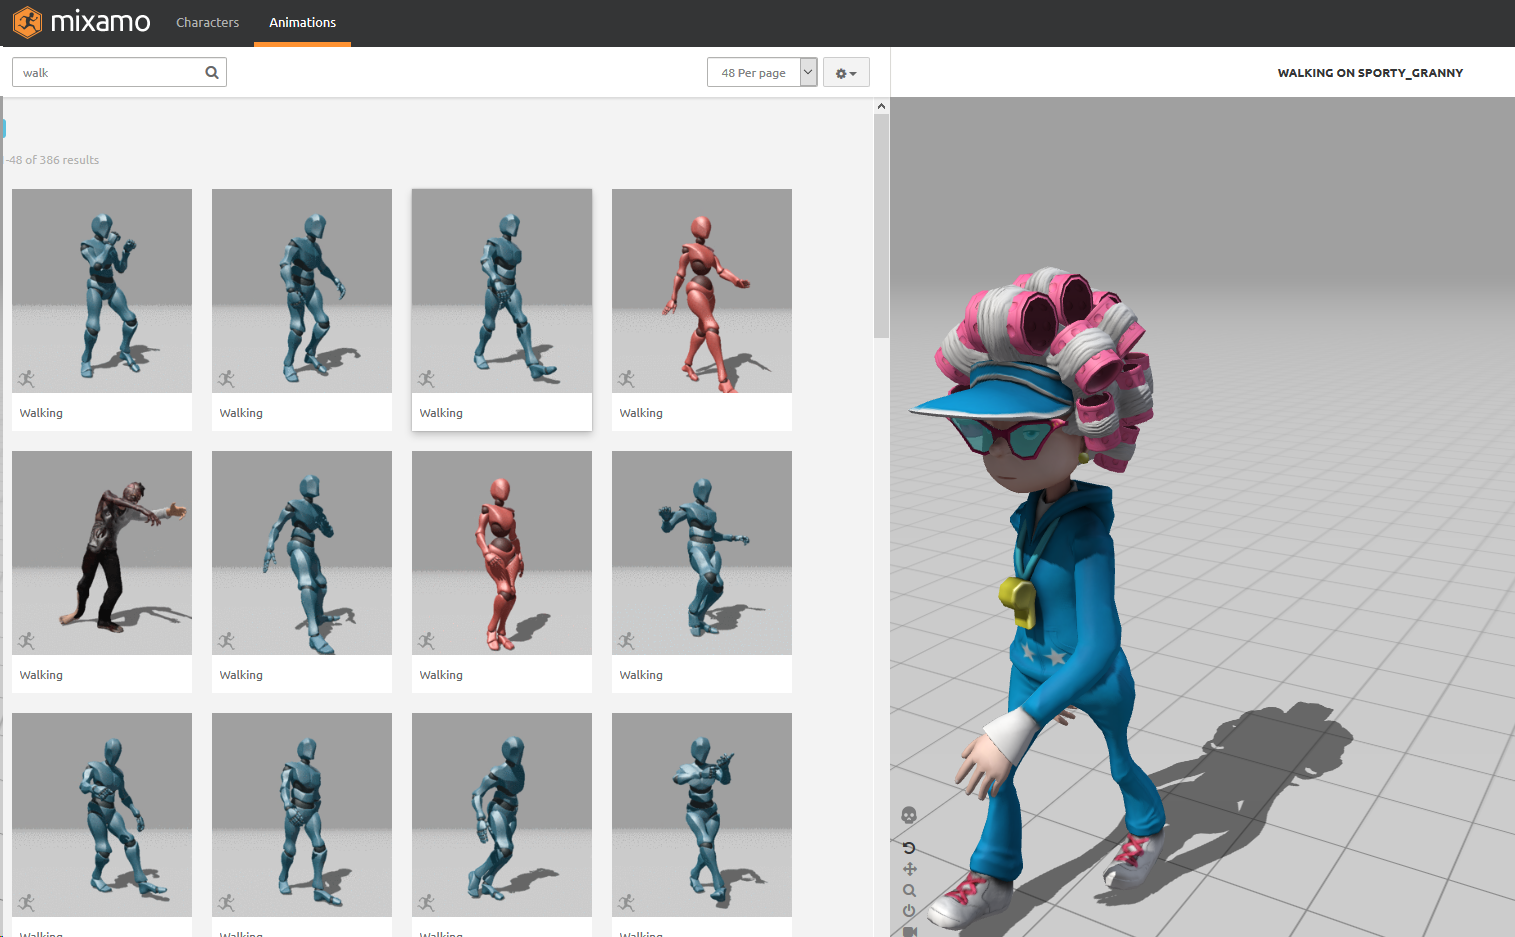
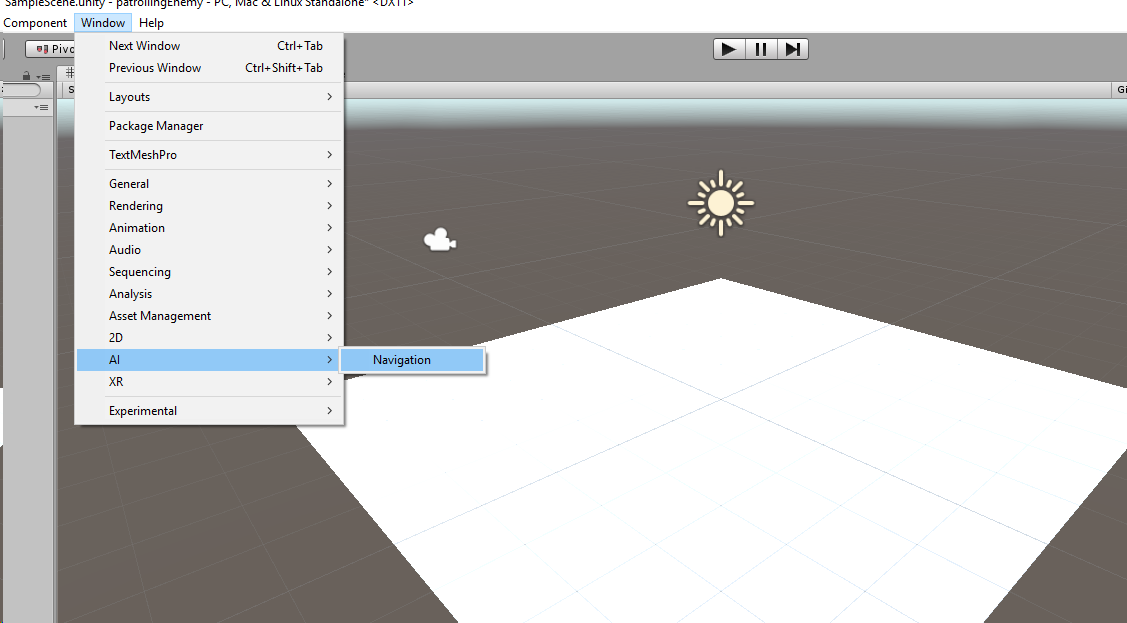
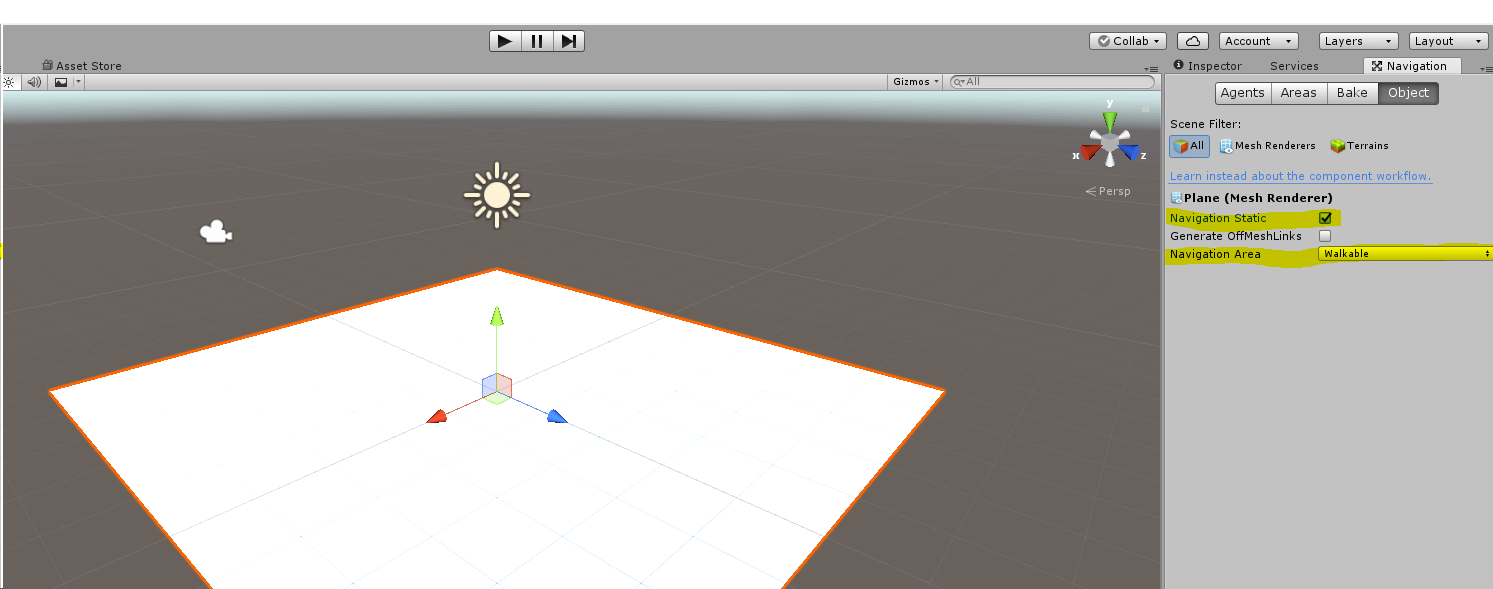
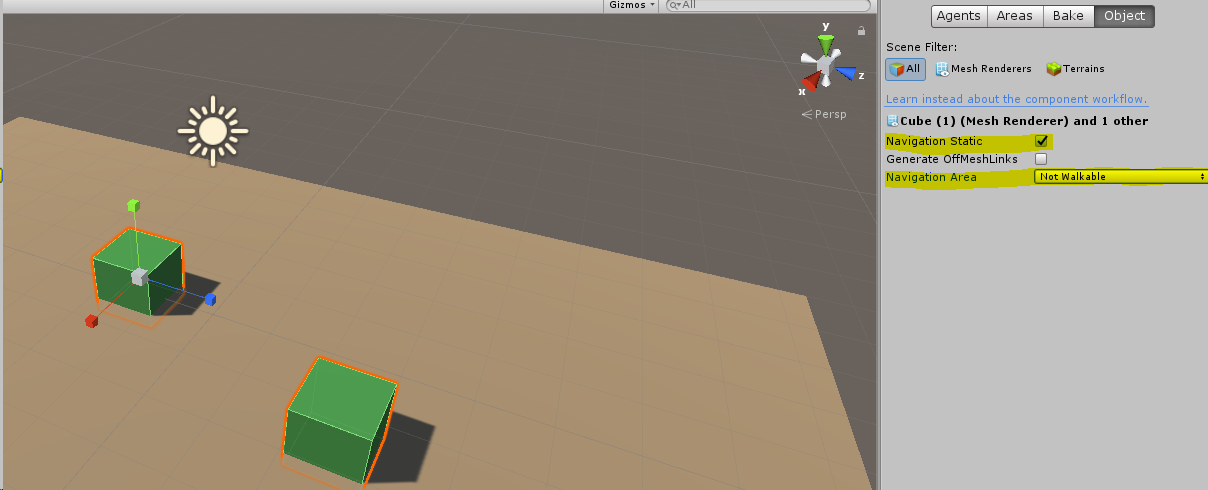
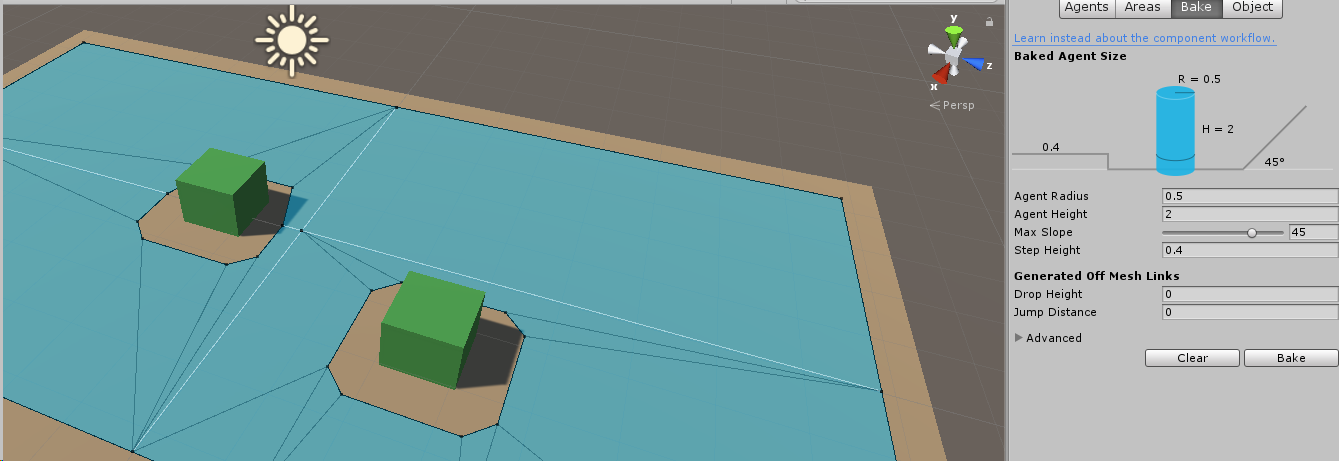
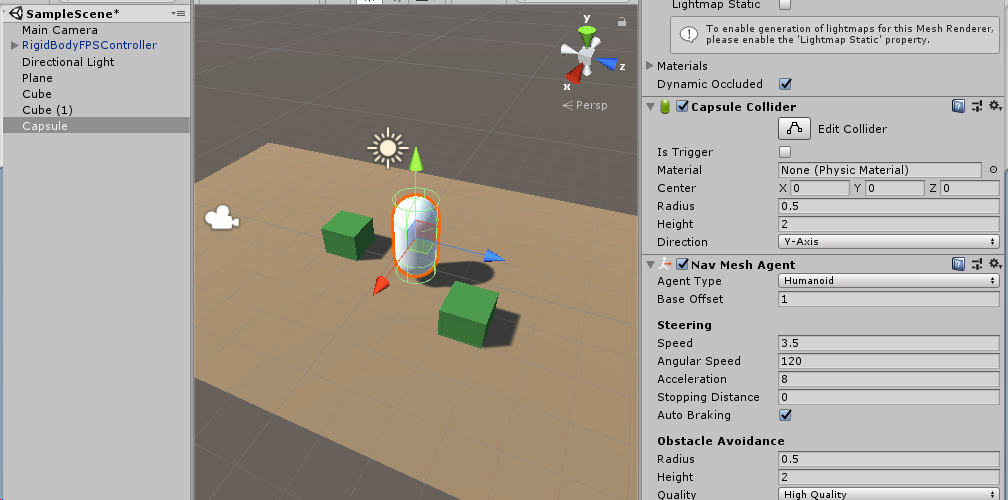
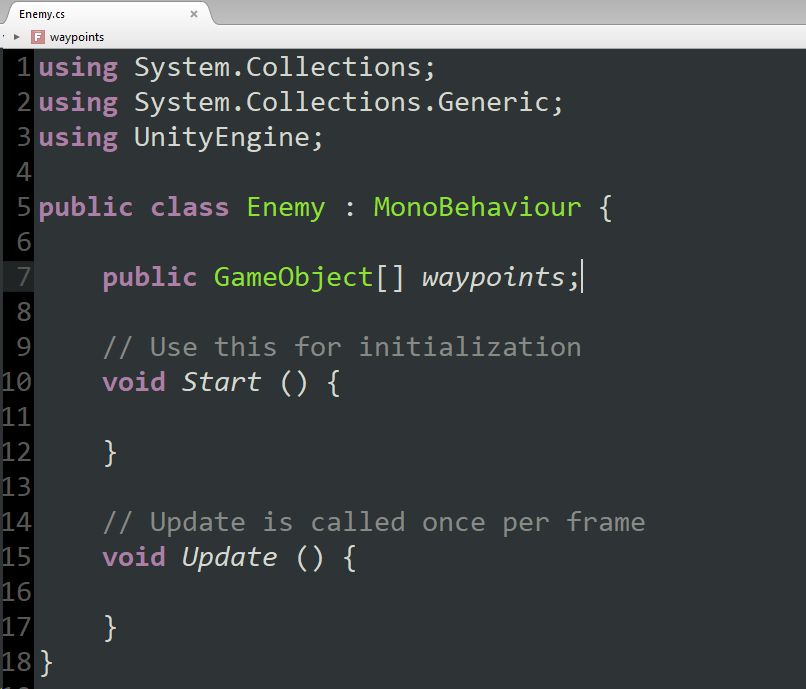
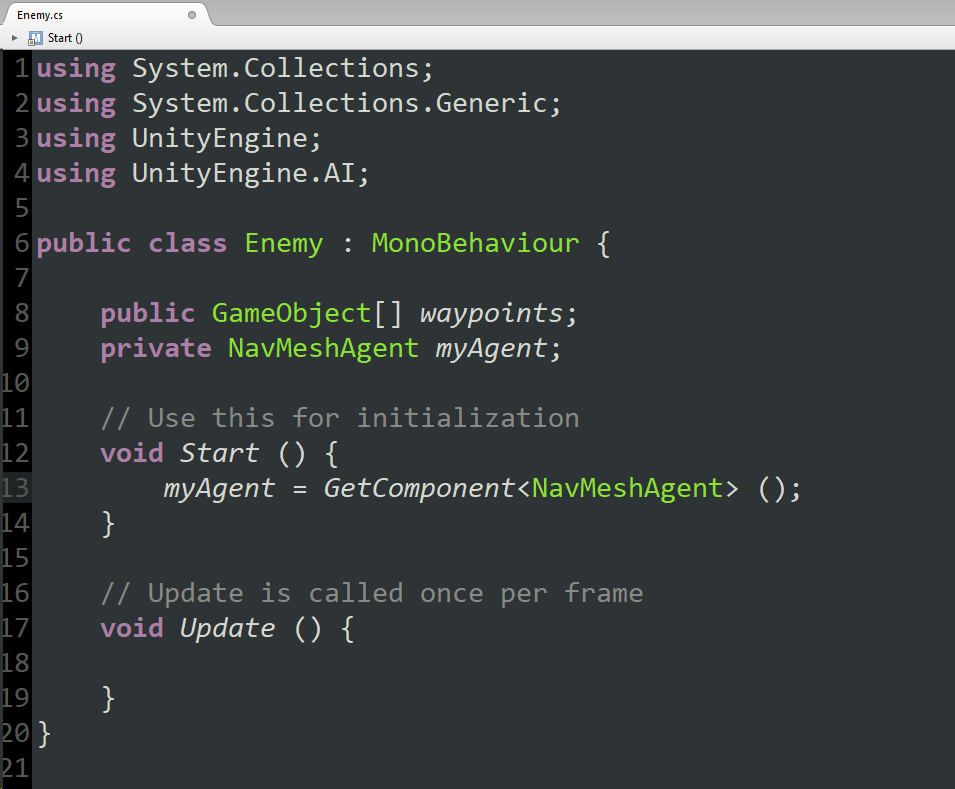
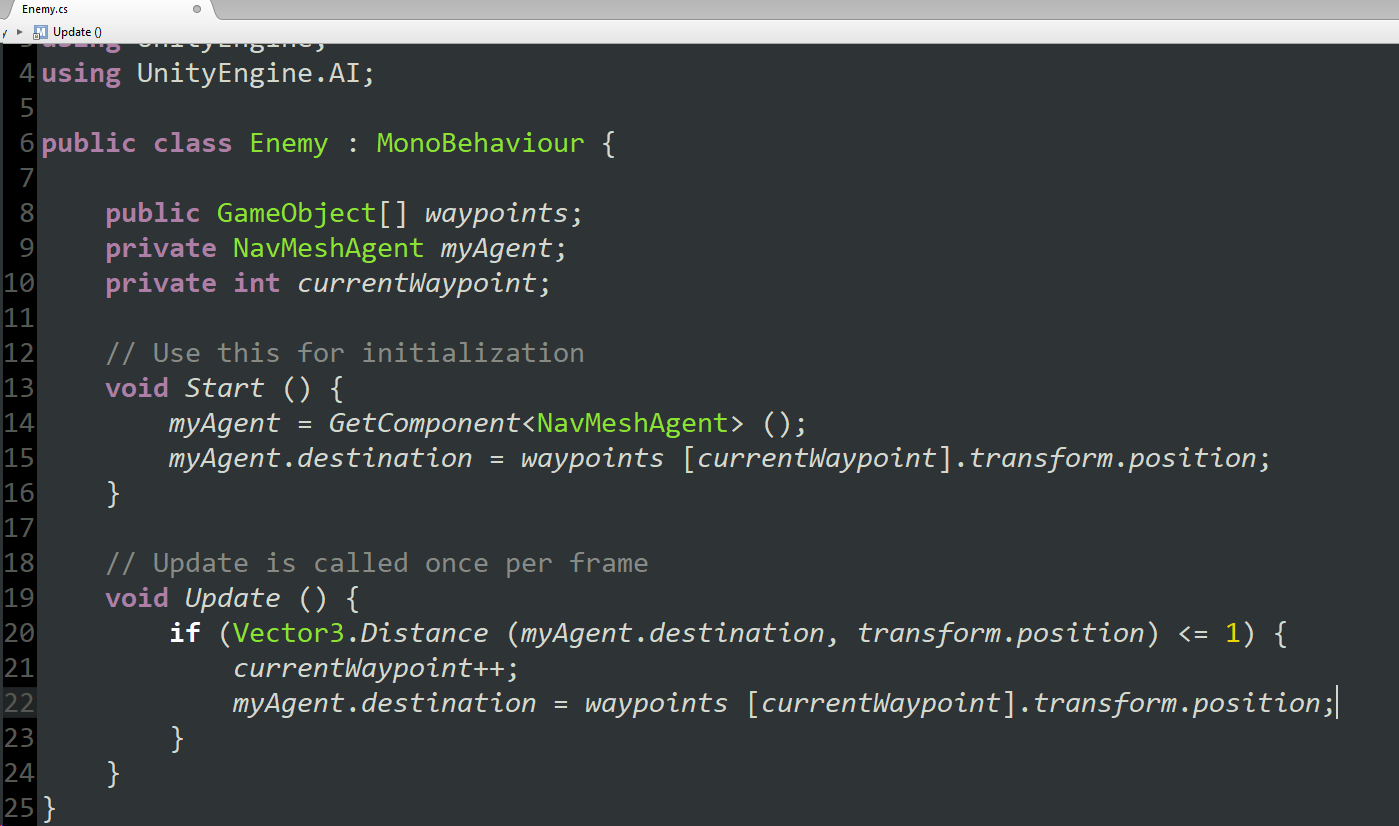
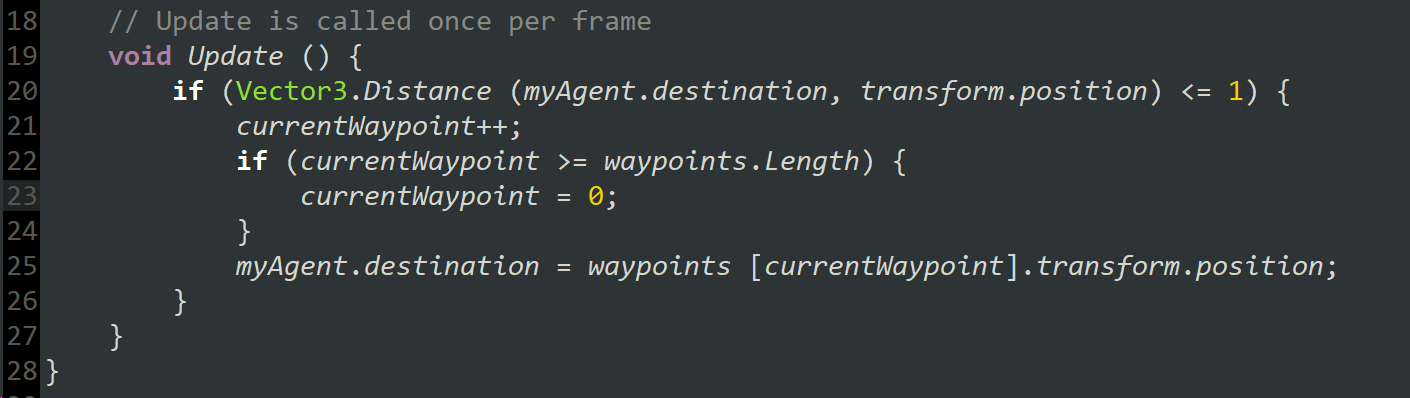
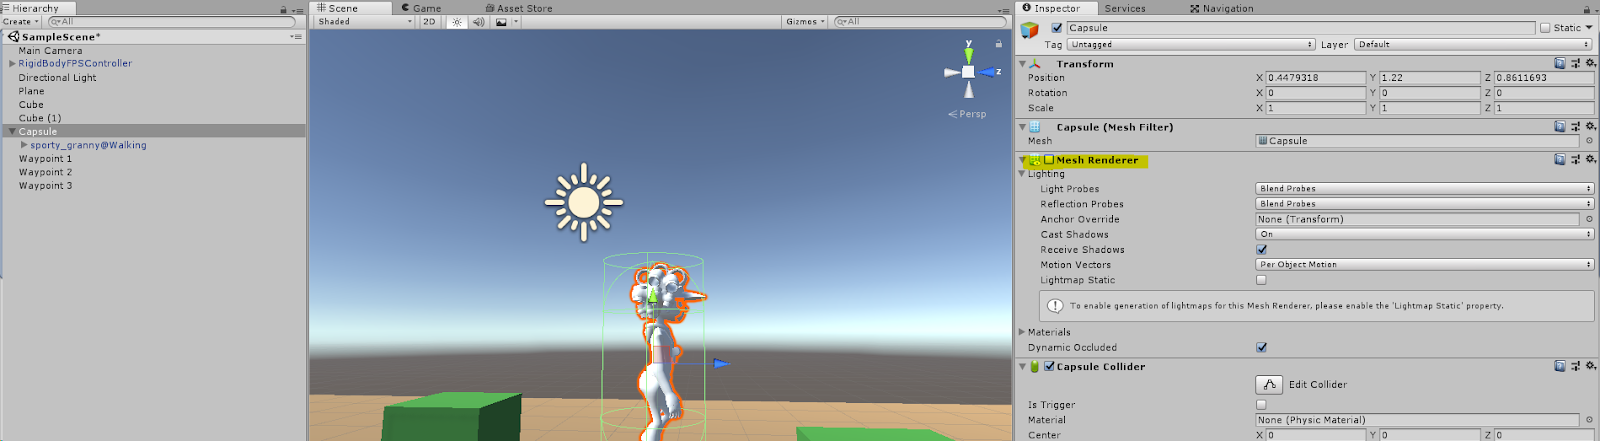
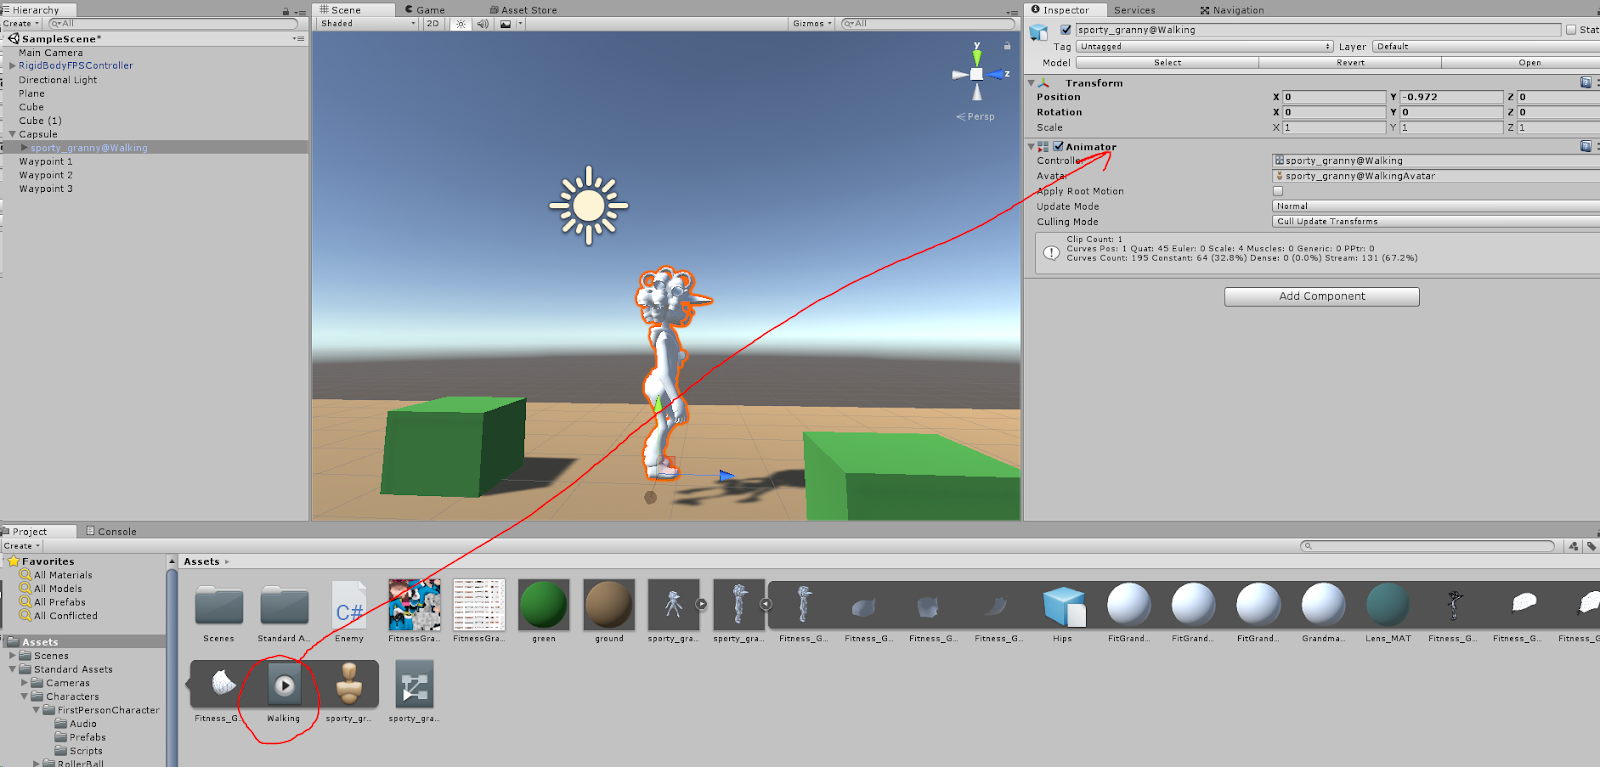
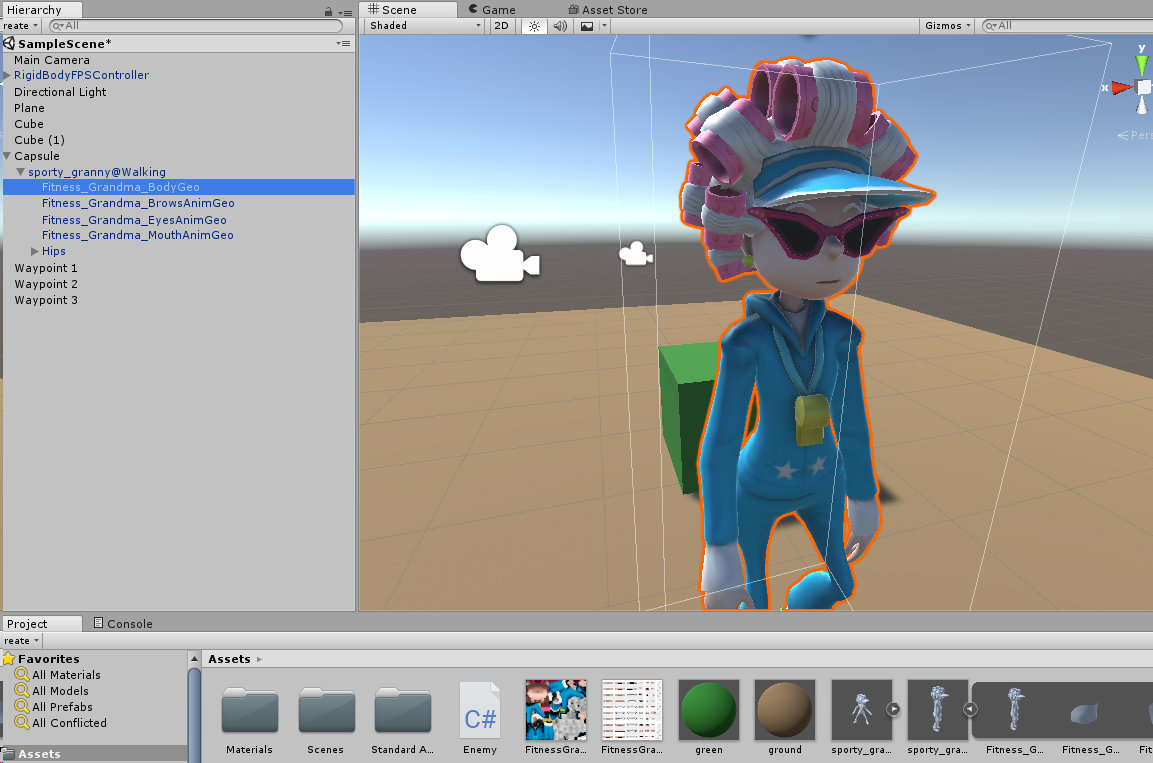
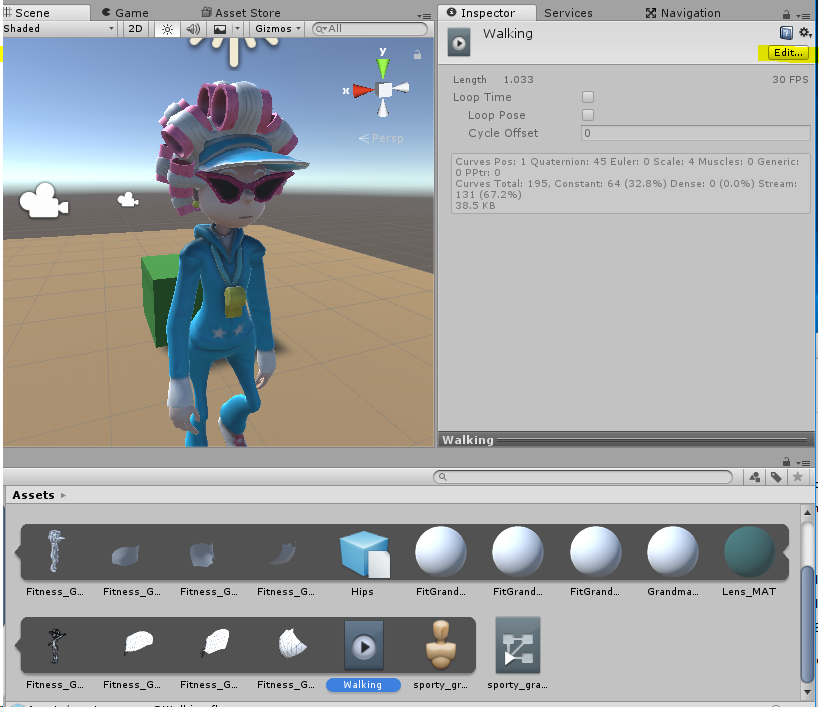
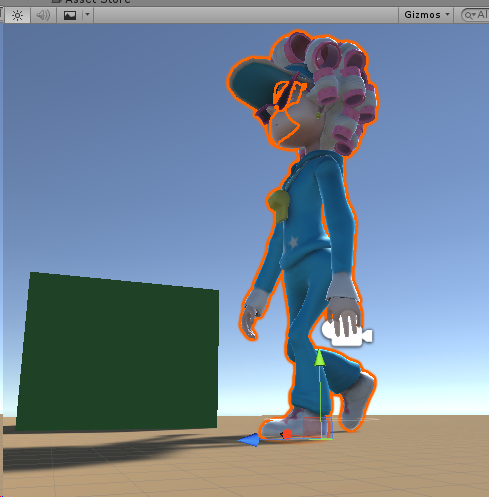
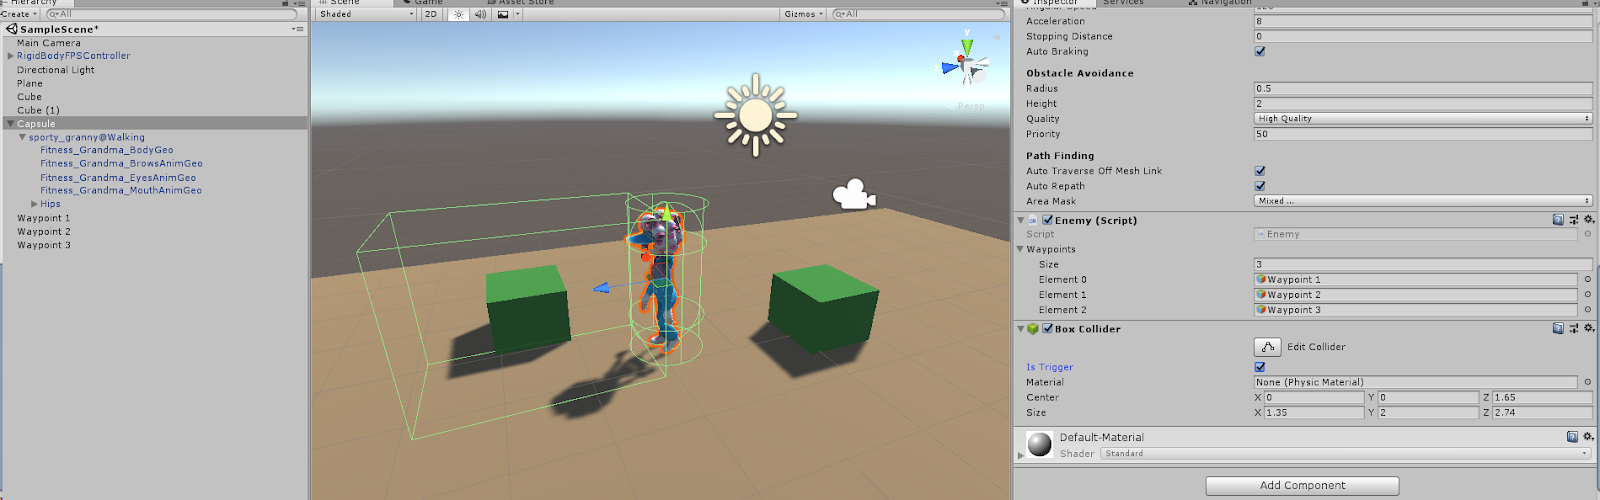
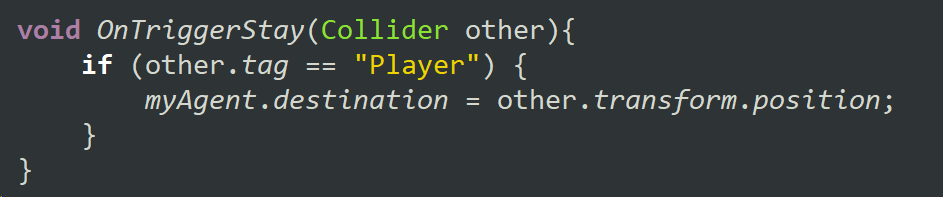
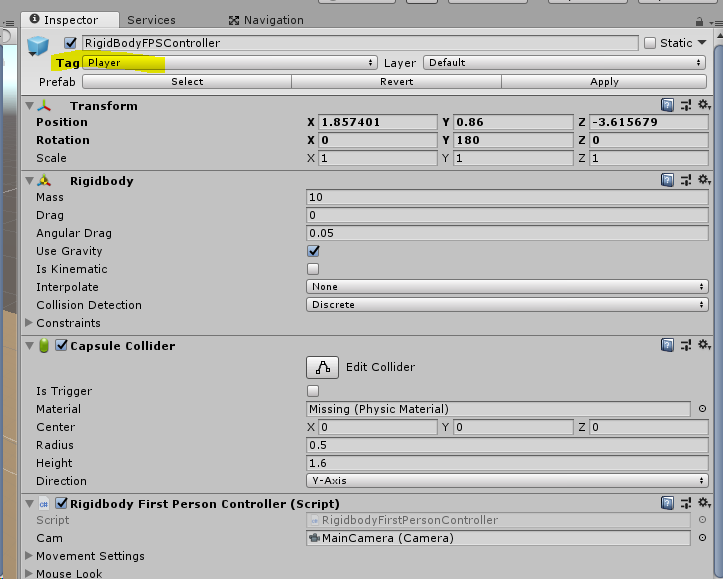
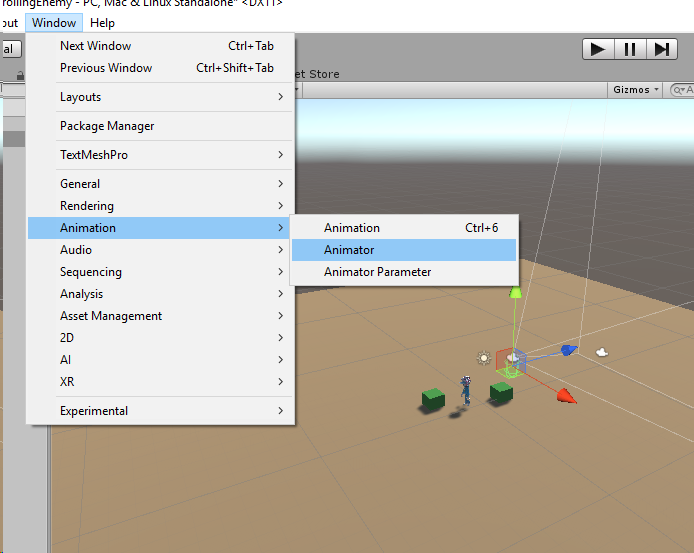
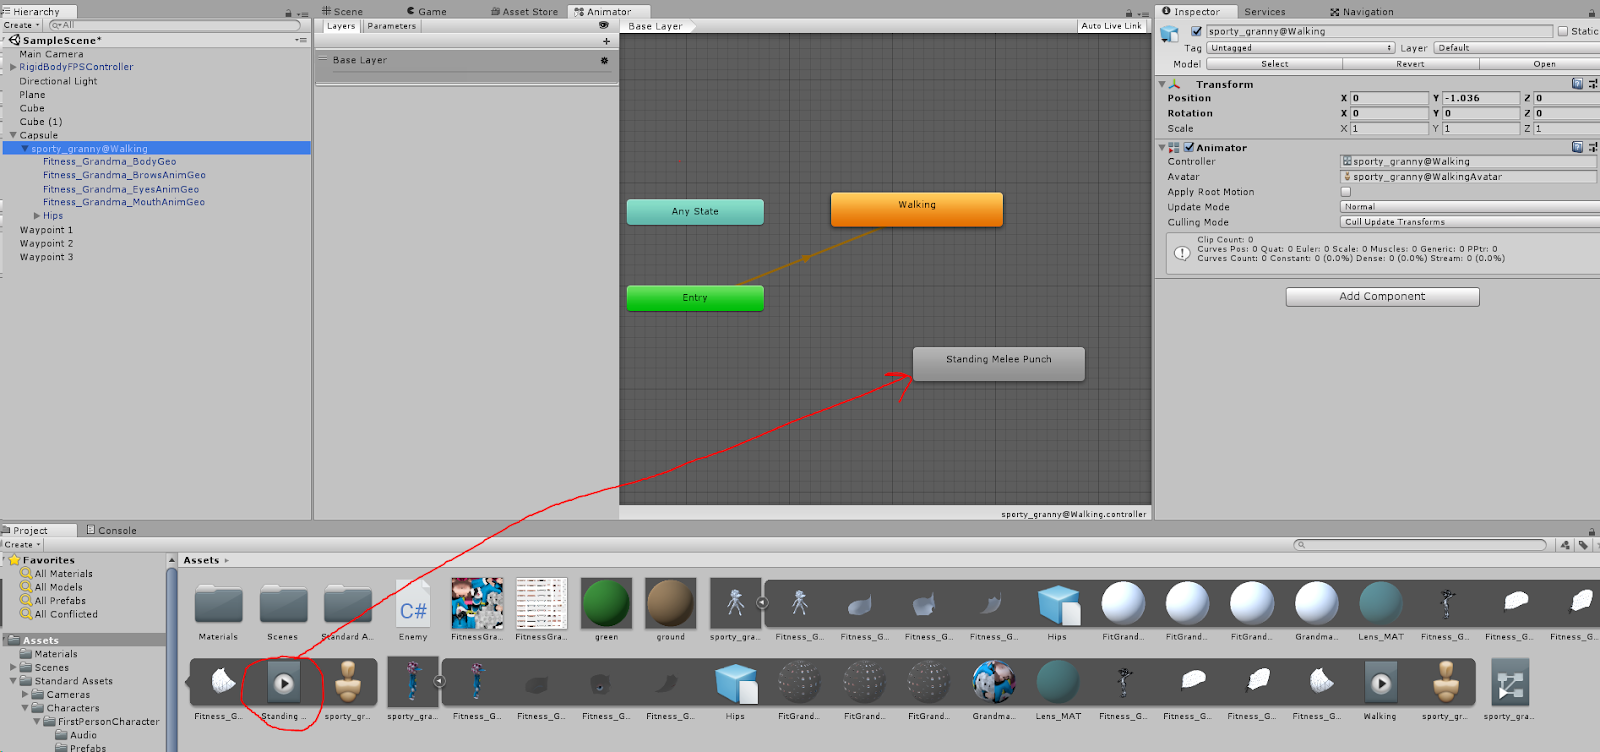
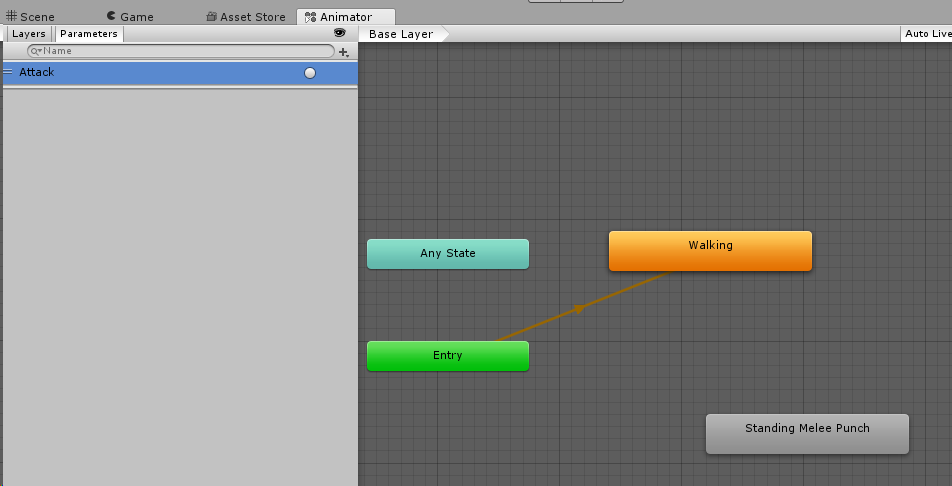
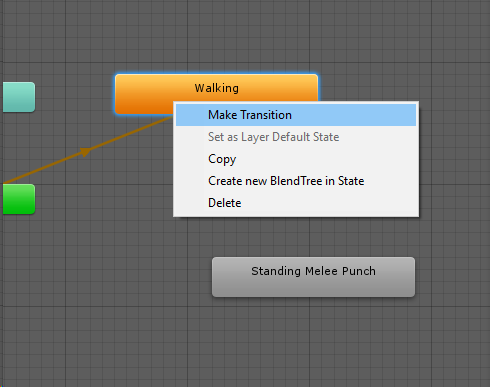
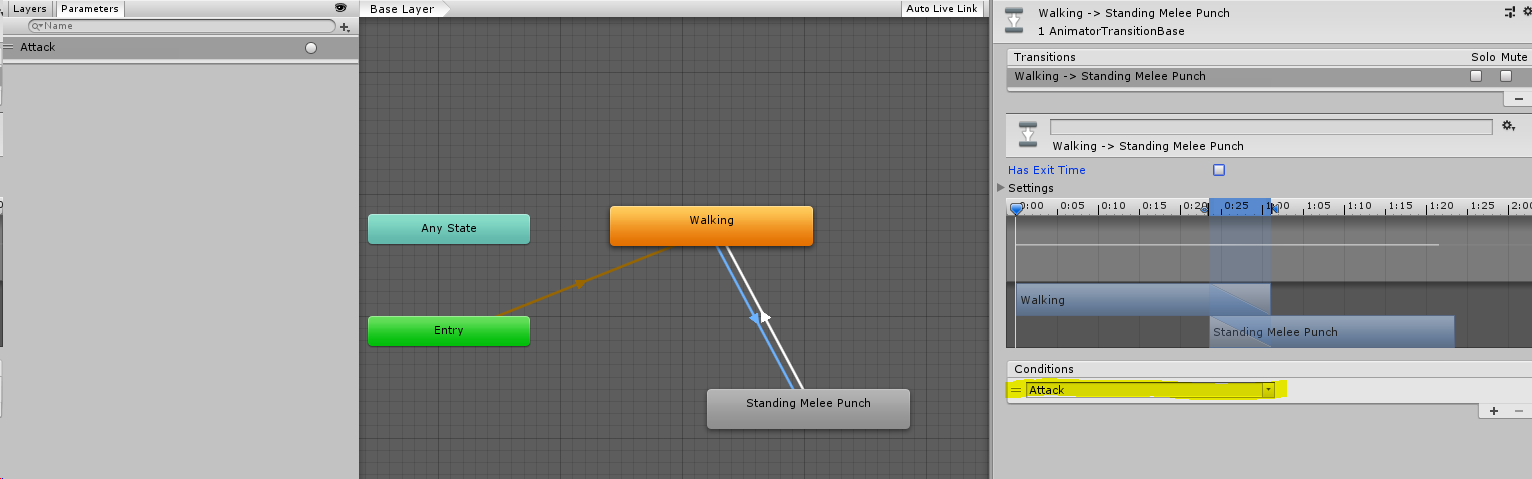
If you've read my blog before you know that I am a game developer, so I will give a game dev example here. There are some steps of game development that are inherently time-consuming, but you don't need to be particularly attentive for. Take baking lighting, for example. I recently needed to test some light baking settings, and I could see as soon as I started it that it would take a while, and I would need to check on it periodically because I wanted to test more than one setting. 

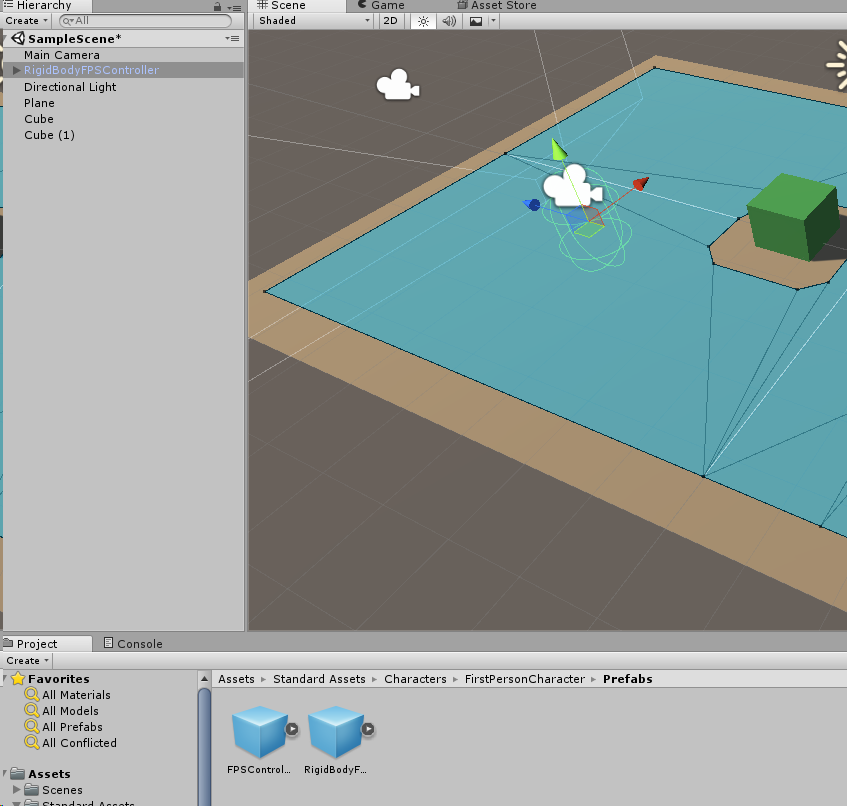
So, I started the light baking, got up from my computer, went to the kitchen. I pre-headed the oven, assembled some ingredients for a casserole, and set a timer. Then I returned to my computer to check the results and launch a second test. 

By leveraging the power of machines, I managed to bake lighting while baking a casserole, accomplishing two tasks at once. 

Thursday, October 10, 2019

Teaching Game Dev as a Generalist

I’ve been teaching game development at the University level for a little over 4 years. As a generalist, I’ve taught a pretty wide variety of classes, from Level Design, to Scripting, to VR Design, to Project Management.

During the summers I often run summer camps for high school students, and during those camps I teach the full pipeline - concerting and iteration, sketching and planning, creating art assets (modeling, texturing, rigging, animating), world building, scripting, and integrating art/sound/VFX.

I remember my college days where I was told being a generalist was a bad idea, and that if I wanted to be successful I needed to choose an area to focus. Although most of my jobs have not utilized all of my skills, I have never struggled to find work in the game industry, and many of my employers have appreciated my ability to jump seamlessly into other roles when needed.

At my current University, the topic often comes up in discussion among faculty of how to get our students to focus, to keep them from becoming generalists.

Here’s my two cents - if you can code, you will always have that to fall back on, there will always be someone who will pay you to write code.

If you can make art, you will always be able to bring your ideas to life. There may be times when it will be hard to find someone to pay for your art, that comes with the territory, but that shouldn’t keep you from creating great things.

If you can lead a team, you will find ways to do so, even if you are not formally given positions of authority.

Don’t shy away from being a generalist, if you are passionate about many different things, lean into that passion and become great.

On the other hand, if you have strong skills in one area and no interest in strengthening the other areas, then by all means specialize. Being a generalist is not for everyone, and many game studios rely on having very specialized skills on their team.

Tuesday, March 12, 2019

NPC Quest Giver Tutorial

This tutorial will cover creating an NPC Quest Giver using Unity, C#, and Mixamo. We will have an NPC that wanders along a path and can be interrupted by the player approach.

NPC Quest Giver
This tutorial will build off the core functionality from the Patrolling Enemy tutorial.
Modify the Spotted Functionality
  1. When the NPC spots the player, she should stand still instead of following the player
  2. Instead of an attack animation, we will import a friendly “talking” animation from Mixamo
  3. Import the new animation, and add it to the Animator Controller for the character
  4. Remove the Attack animation and Trigger, setup the Talking animation as before, with a Trigger called “Talk” to transition to the Talking animation
  5. Change the Animation trigger in the script
  6. We also want to stop the character from returning to her patrol, so we will add a bool at the top called “talking”
  7. And check for that bool  in our distance check in Update
  8. We’ll also add OnTriggerExit to set the character back to her patrol
  9. It would also help if she looks at us while she’s talking
  10. Lastly, add popup text for the NPC’s dialogue using GameObject > UI > Text
  11. Decide what your Quest Prompt should say, and remember to bind the text object’s Rect Transform to the bottom of the screen
  12. Disable the text object by default, we will toggle it on from the script
  13. Add using UnityEngine.UI to the top of the script and make a public GameObject for the quest text
  14. Set the QuestText true and false in the appropriate places
  15. Drag the QuestText to the empty GameObject slot on your character
  16. Be sure to test!
Quest Items and Activating the Quest
  1. Create a new C# script for the Quest Item (QuestItem.cs)
  2. Find a model to use as the Quest Item and give it a BoxCollider marked as IsTrigger, be sure the collider goes around the entire object
  3. Attach the QuestItem script to the object
  4. In the QuestItem script, add the OnTriggerEnter function
  5. Create a public bool to keep track if the player has collected the item
  6. If the colliding object is the player, set that tracking bool to true
  7. Back in the character’s script, we need a bool to keep track if the quest item was found
  8. And we need a public QuestItem to link to the quest item object in the scene
  9. In the character’s Update function, check to see if the quest item was collected
  10. If it was collected, we want to destroy it
  11. And we only want to run this check until it has been found, otherwise this check will throw an error after the object is destroyed
  12. Be sure to link the Quest Item to the public slot on the character’s script
  13. At this point if you test, the Quest Item should disappear when you collide with it
  14. We should also add a public bool in the character’s script to activate the quest after the player talks to her
  15. Activate the quest when the player talks to her
  16. In the QuestItem script, we need a public reference to the character’s script (in this case I left it called Enemy.cs from the previous tutorial, even though it is now used as an NPC)
  17. Before collecting the item, check if the questGiver’s quest is active
  18. Remember to link the character to the QuestGiver slot in the scene
  19. Now the cat can only be collected after the quest has been activated by talking to the granny
Completing the Quest
  1. We need to add a new section to the talking portion of the character’s script to change the text if the Quest Item was found
  2. Now to reward the player for completing the quest. Create a new Text object to show the reward, in this case I’m going to give the player XP
  3. We want this text to be large, bright, and eye-catching
  4. Let’s create an Animation to make the text popup more exciting
  5. Attache the new animation to the Text Object
  6. Open the Animation window
  7. Make sure you have the text selected, then Add Property for the Text.Color and Anchored Position
  8. Give it an Alpha of 0 for the start and end keyframe, and Alpha of 1 for a keyframe in the middle, so it fades in and out
  9. Set the Y value higher in the last keyframe so the test floats upward
  10. Now we need to trigger the animation. In the Animator window, create an Empty State
  11. Set that as the Layer Default State
  12. Make a transition to and from the Popup animation
  13. Make a new Trigger in the Parameters tab and use that as the Condition to transition to the Popup animation
  14. Remember to uncheck the box for Has Exit Time
  15. Back in the character’s script, add a new public Animator to reference the popup text in the scene
  16. In the quest completion part of the script, trigger the animation
  17. Remember to drag the text into the public slot you created
  18. Set the starting Alpha for the text to 0 so it is not visible from the beginning
Summary
You should now have a quest giver that requests a specific item, the ability to go and collect that item, and a reward when you return to the quest giver. This can easily be expanded for a quest giver to ask for a certain number of things like “collect 50 gems” or “kill 10 enemies”

Tuesday, March 5, 2019

Patrolling Enemy Tutorial


One of the most-requested features I get asked about in the Game Design classes I teach is how to make a patrolling enemy that will "spot" the player. I've been making a lot of video tutorials lately, but for this one I've decided to make a text tutorial. So here it is, how to set up a basic patrolling enemy that will "spot" the player.


Patrolling Enemy
Download Enemy Character and Animations from Mixamo
  1. Log in or sign up
  2. From the Characters tab, select a character you like
  3. From the Animations tab, select a walk cycle
  4. Check the box for In Place
  5. Download as FBX for Unity
  6. Download a second time for Collada, which gives a .zip folder with the texture files
  7. Find a second animation, such as an Attack, and download as FBX for Unity
  8. Import the FBX and the texture files to Unity
Setup and Bake NavMesh in Unity
  1. Create a Ground Plane in a new empty scene
  2. Open the navigation panel: Window > AI > Navigation
  3. Select the Ground Plane and mark it as Navigation Static and Walkable
  4. Create some obstacles for the enemy to walk around, it’s a good idea to change the color of the ground and obstacle so you can see what you’re doing
  5. Marke the obstacles as Navigation Static and Not Walkable
  6. Select the Bake tab and choose Bake
Create NavMeshAgent and Player Character Controller
  1. Create a Character Controller for the player, or download the Unity Standard Assets FPS controller and place it in your scene (if using the FPS controller, be sure it is above the ground)
  2. Create a 3D Capsule object in your scene and give it a NavMeshAgent Component
  3. Create a new C# Script called Enemy and attach it to the Capsule
  4. Open the script and create a Public Array of GameObjects
  5. Back in the Unity scene, select the Capsule and set the public array size to 3
  6. Create 3 Empty GameObjects and place them around the scene (these will be the waypoints for the enemy to walk to)
  7. Drag each of the waypoints into one of the GameObject slots on the Capsule
  8. Back in the Enemy script, add using UnityEngine.AI to the top of the script, create a private NavMeshAgent and in the Start function give it a reference to the NavMeshAgent component
  9. Create a private int to keep track of the current waypoint, then in the Start and Update functions specify the desired waypoint for the NavMeshAgent.destination
  10. Save and test and you will see the enemy walk between each of the waypoints until it reaches the end of the patrol path...update the script so the patrol loops by resetting currentWaypoint to 0 when you reach the end
  11. Test again to ensure the enemy loops on the patrol path
Link Character Model and Animation to NavMeshAgent
  1. Drag the enemy character model onto the Capsule to make it a child and turn off the Mesh Renderer on the Capsule
  2. Select the enemy character model in the scene and drag the Walking animation onto the Animator component

    Note that it creates an Animator Controller in your project folder when you do this
  3. Apply the textures to the character Geo
  4. Select the walking animation and choose Edit
  5. Check the box for Loop Time and Apply
  6. Test again to see the character walking along the patrol path. While testing, check to ensure the character’s feet are making contact with the ground
Script Enemy Vision and Attack Trigger
  1. Attach a Box Collider component to the enemy Capsule and mark it as Is Trigger and position and scale it to represent the view area of the enemy
  2. Add an OnTriggerStay function to your Enemy script to check for the Player character
  3. Be sure to tag the player as Player
  4. You may want to expand your play space to test this new functionality, be sure to rebake the NavMesh if you do
  5. Open the Animator wind from Window > Animation > Animator
  6. Select the animated enemy character and drag the Attack animation into the Animator
  7. On the Parameters tab make a new Trigger called ‘Attack’
  8. Right click on the Walking animation and make a transition to the Attack animation
  9. Make a corresponding transition from the Attack to the Walking animation
  10. Select the transition to the Attack and add a condition for the Attack trigger you made before and uncheck the box for Has Exit Time
  11. If the enemy is within range of the player, set the target destination to the enemy’s current position and trigger the attack animation, otherwise use the player’s position as the destination
Summary
After completing these steps, you should have a patrolling character that will interrupt it’s patrol to follow the player if the player gets in her view range, and if the enemy gets close enough to the player while following she will attack. If the player gets out of the view range of the enemy she will return to her patrol.

Thanks for reading, and if you've found this tutorial helpful I hope you will subscribe here and on my Youtube channel: www.youtube.com/c/AstireGames